

Last Update: March 2024
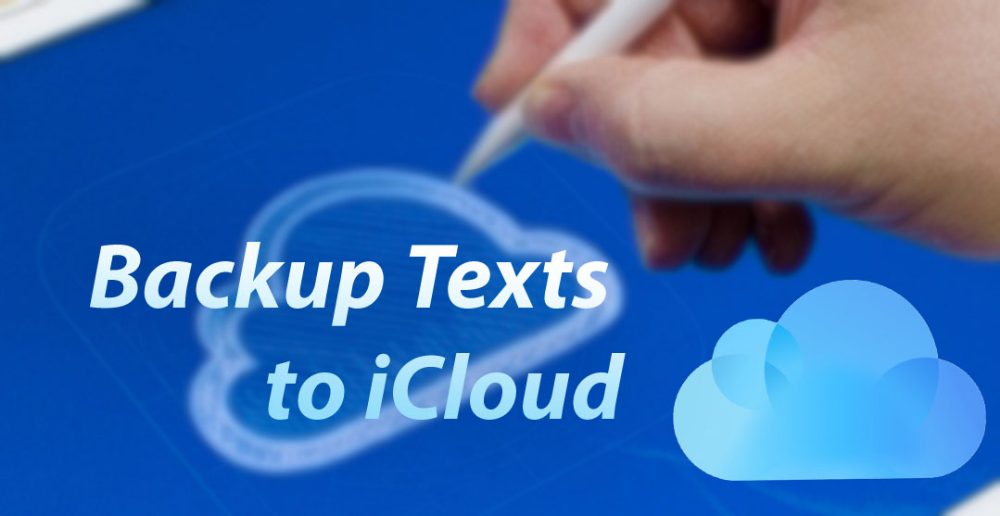
Learn how to backup Text messages to iCloud and keep your important text messages safe in iCloud.
Good news for iPhone users. You can finally use iCloud messaging! But how do you transfer your text messages to the cloud? Here’s your quick and easy guide.
You never know how important backing up your information is until you lose all of it. More than 3.1 million Americans were victims of phone theft in 2013. And if your phone isn’t backed up, there’s no way to recover any of that information.
From pictures to voice memos and important messages, our phones hold a lot of personal and sensitive information. You may not even realize just how much is on your phone until you no longer have it.
iCloud is one of the easiest ways for iPhone users to back up their stuff. And now, with a new software update, your iMessages can be backed up too. So no matter what happens, you’ll be able to retrieve your message history.
If you’re not sure how to back your text messages up, keep reading. We’ve got the simple steps to start iCloud messaging so you won’t have to lose any of your texts.
Contents
How to Backup Text messages to iCloud 2024
1. Check Your iCloud Storage
There’s a difference between your phone storage and your iCloud storage. And for a first time back up, you want to make sure you have plenty of space on iCloud.
You can check your iCloud storage by simply going to settings, tapping your profile, and selecting iCloud. At the top of the screen, you should see a bar labeled storage.
This will show you how much iCloud storage you have and how much you’re using. If you’re using the free 5 GB of iCloud storage, you may want to consider upgrading.
You can upgrade your storage amount by selecting ‘Manage Storage‘ right under your storage bar. The first level up is 50 GB for only .99 cents a month, with options all the way up to 2 TB of storage. And to make sure your information is safe, we think it’s money well spent.
2. Get On Wifi
Your backups will only be able to be done over wifi.
And first time backups can take a while. This is something that’s best done at home. You can get your phone on your wifi network and let it do its thing while you Netflix and chill.
As long as you are somewhere that you won’t have to leave for a few hours, you can go ahead and start your backup.
3. Open Settings
You know that little icon that looks like a gear that you never touch? Get ready to start using it.
Your settings app will be where you can change your preferences for basically everything on your iPhone. Anything from changing your background to accessibility features are all controlled from this important app.
This includes your iCloud messages.
4. Update Your Software
If you don’t stay on top of installing recent software updates, you should double check that you’re on the latest iOS.
Usually if there’s an update available, you should see a glaringly red 1 next to the ‘General’ tab. If you select General, the second tab down will say ‘Software Update’.
Even if you don’t have a notification, select Software Update. Sometimes there is an update available without your iPhone notifying you.
If you do have an update, select Download & Install. These updates tend to take some time. Budget around 10 to 15 minutes for it to install.
Once you’re on the latest iOS, you will have the ability to use iCloud messages.
5. Tap Your Profile
After you select the settings app, the first thing you should see at the top of the screen is your name with your Apple ID email address under it.
Just select your name and you’ll be able to see your settings for your iCloud, iTunes, and Family Sharing as well as all the devices that are signed in under your Apple ID.
6. Select iCloud
The first section you see will say Name Phone & Email, Password & Security, and Payment & Shipping.
The second block of tabs starts with iCloud. Select the iCloud tab so you can see and edit your backup settings.
7. Switch Messages On
Within the iCloud tab, you can see your iCloud storage and everything that you have set to backup to iCloud.
This includes your photos, contacts and, you guessed it, your messages. To start iCloud messaging, just slide the tab to the right of ‘messages’ over so it turns green.
Congrats! You’re officially uploading your text messages to iCloud.
8. Let Your Phone Do The Work
Backing up any information for the first time can take a while. So if this is a first time back up for you, plug your phone in and go about your day.
Taking it off of the wifi network you started it on will stop any uploading completely, so just leave it alone. It can even take several hours for a first time back up.
For messages specifically, you will see your messages app say your iMessages are uploading. That’s totally normal and could also take some time.
After this first round of backing up, your iCloud messages will automatically back up any time your phone is charging and on wifi. So you don’t even have to think about it.
Don’t have WiFi? Here’s How you can Manually backup Text messages to iCloud
If you don’t have Wifi connection in your house then just follow this steps backup your device over mobile data!
Steps to follow:
- As a first step open the “settings” app then tap your profile Name.
- There select “iCloud” and scroll down a bit you’ll find an option called “iCloud backup” select it.
- Select “Back Up Now”.

iCloud Messaging: The Backup You Didn’t Know You Needed
Text messages being integrated into iCloud has been a long time coming. And now that iCloud messaging is finally included, you don’t have to go through losing your entire message history if something happens to your phone.
Technology is complicated and constantly changing. So if you’re not actively learning about the newest software and products, it can feel overwhelming. That’s why we’re here to help.
Whether you’re a total tech geek or a beginner, we’ve got the top tips and tricks for getting the most out of your tech and avoiding some major headaches. Subscribe to our blog today so you can be your own personal genius.

