Last Update: March 2024
Is your XBMC media player cache full?, Here is the Guide to clear cache on KODI 16.1, 17 and its also applicable for fire stick users.
The biggest problems rising in Kodi is when viewing live channels where channels are usually stuck and kodi keeps buffering sometimes. That problem can be due to several reasons and one of them is that there is not enough space in Kodi to save the cache (necessary for streaming), that’s why its necessary to Delete cache in Kodi 2024. Once you are done it will fix the buffering bug. In this tutorial we will use the Fusion tool .
The tutorial is compatible with all platforms. If you have any doubts about the process you can leave them in the comments.
How to Clear Cache in Kodi 2024
This is really simple method to Delete cache in Kodi, All you have to do is install an add-on on your that will enable the option to clear cache.
Note: To run this process you must need to install a plugin called Fusion.
1. Install Fusion on Kodi
The process to install this add-on in KODI and to access in a practical way to all these functionalities is the following one:
- On you Kodi Go to “System” and choose the “System settings”:
- In the following window choose the option File manager and the following options will be displayed where you have to click on “Add source”.
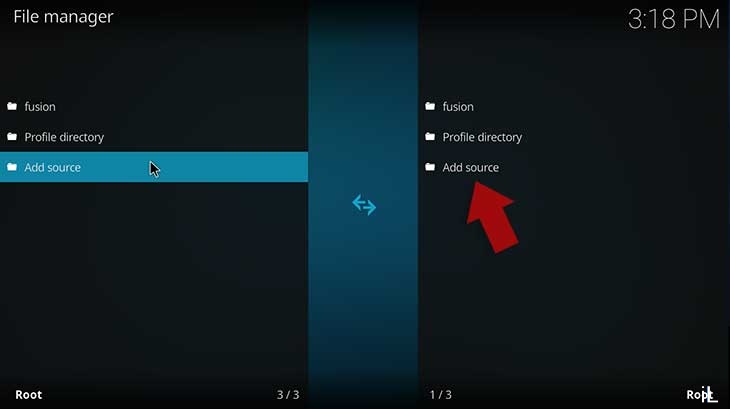
- Then click on None and in the displayed window enter the following URL:
http://fusion.tvaddons.ag/
- In the field Enter a name we give a name to the resource.
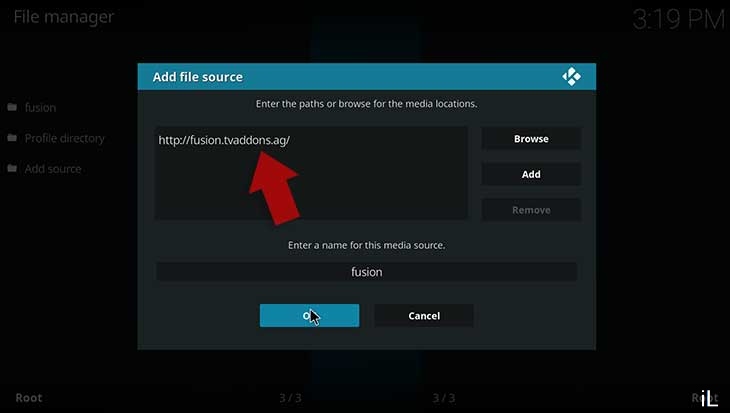
- Press “OK” once the data is defined. We can see that the resource was created correctly.
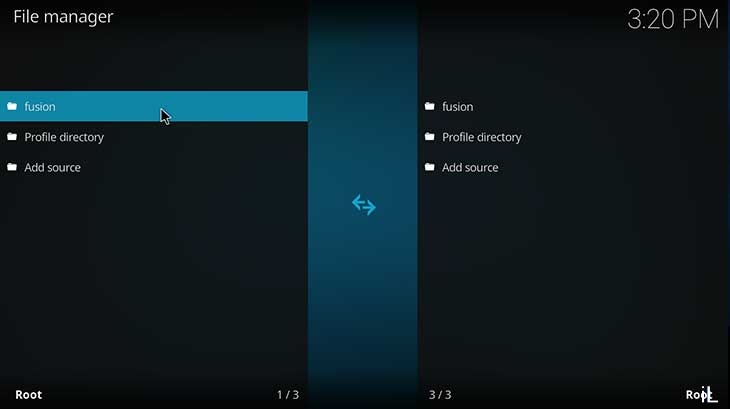
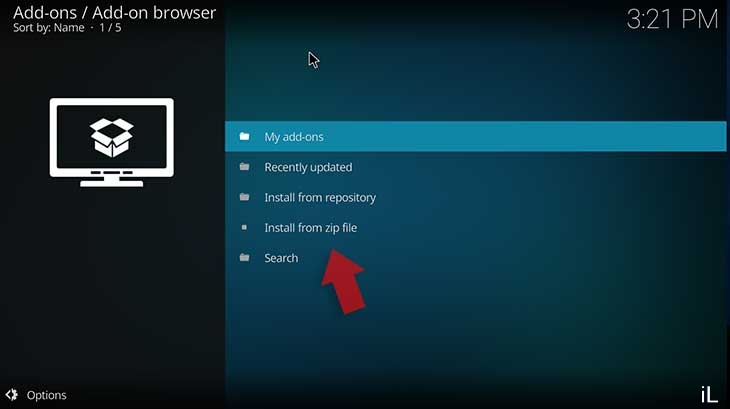
- Now go back to the main window of Kodi where you have to select “Add-Ons” and choose the “Downloads” option and the following will be displayed. From the window Select the option “Install from zip file“.
- In the new window select the previously created resource, ie “fusion” and click Ok:
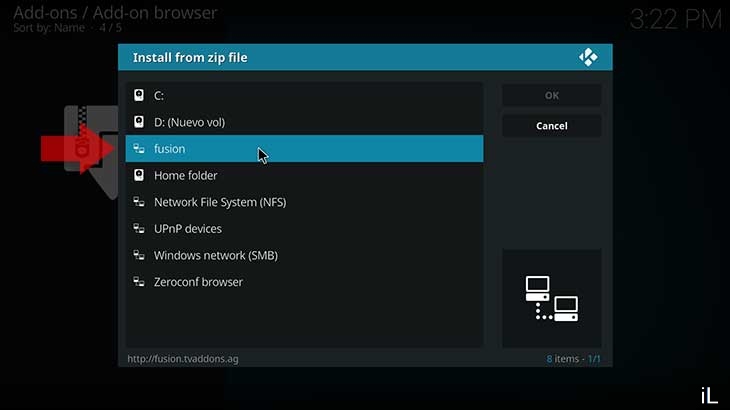
- At the next window you have to select Begin here and click on the available file for this edition of KODI which is called Indigo and is through which have the possibility to manage the maintenance of KODI:
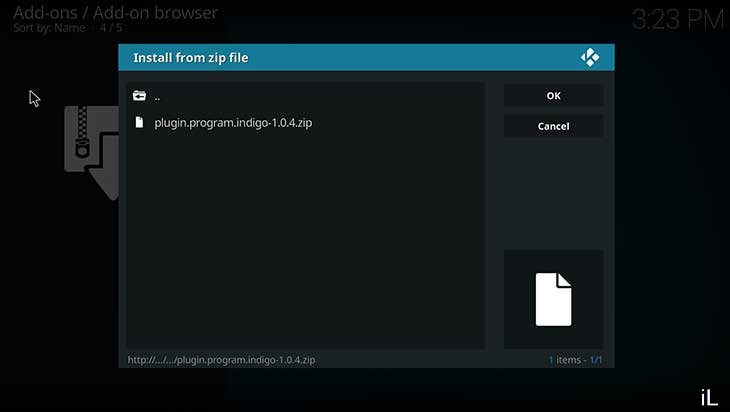
You have to wait for this file to be installed to perform a clear cache of KODI. Once you have installed the addon lets go to Next step.
2. Clear Cache on Kodi
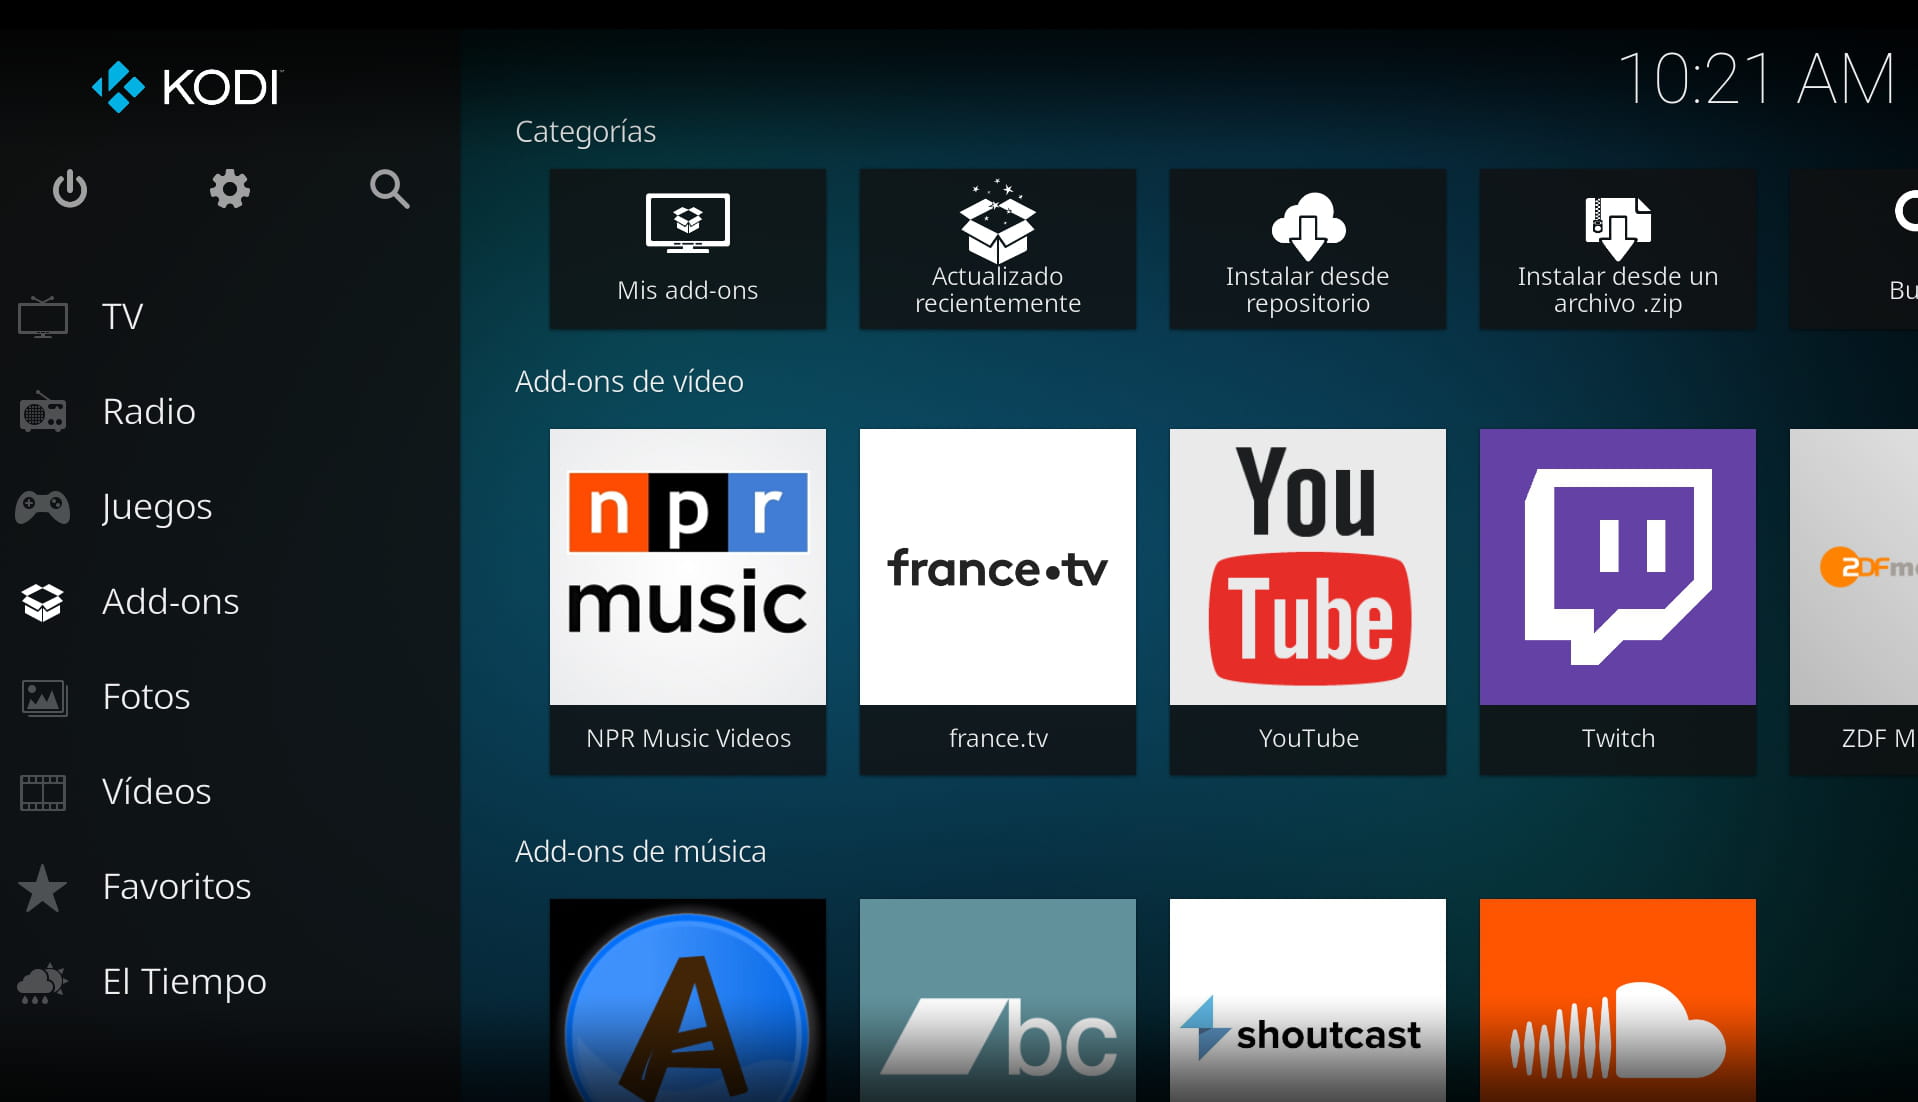
1. At first open KODI and this you will see this interface: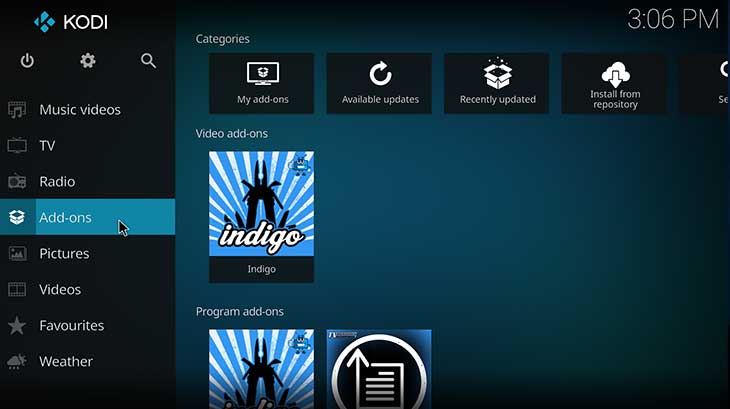 2. There click on the “Add-ons” option and in the displayed window select the option called “Program add-ons” Then select the indigo.
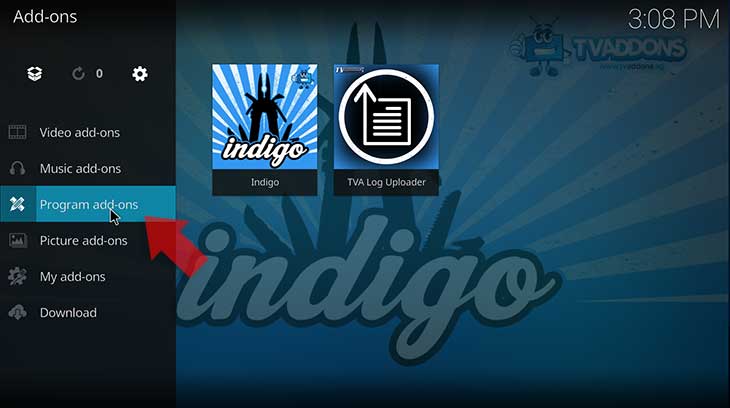
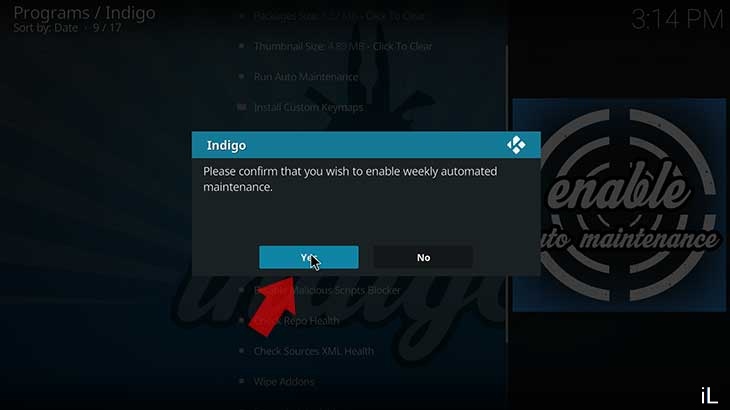
3. There you will find plenty list of menus simply click on the option Cache size: ### – Click To Clear and the following message will be displayed. Press Clear to clear the KODI cache.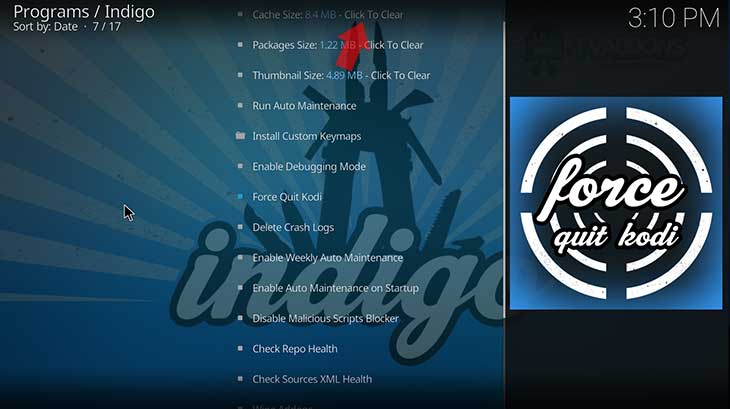 In addition you can schedule a weekly maintenance where KODI will automatically clean your cache and other aspects. So that your optimization is turn to maximum.
- To enable Auto Maintenance click on the option Enable Weekly Auto Maintenance.
I hope this simple guide will you clean KODI cache and greatly improve its usability.
It’s worth mentioning that if the problem still persists. it may be because of the speed of your Internet that is not fast enough to load the video you are watching. You can try to see one of lower quality and you will see that the problem has been solved.


