Last Update: March 2024
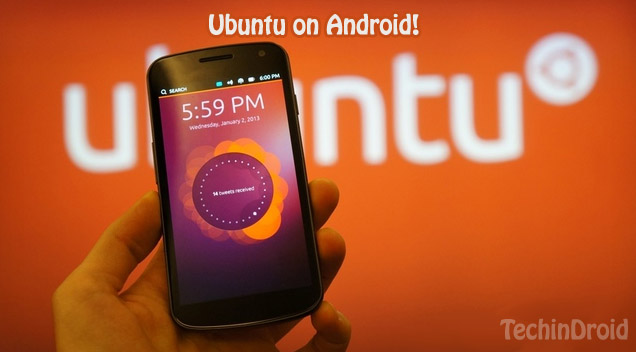
Are you wondering how to install Ubuntu on android? Yes! You can install Ubuntu on android phone and tablets that supported by community or Canonical development. In TechinDroid we will show you how to do..
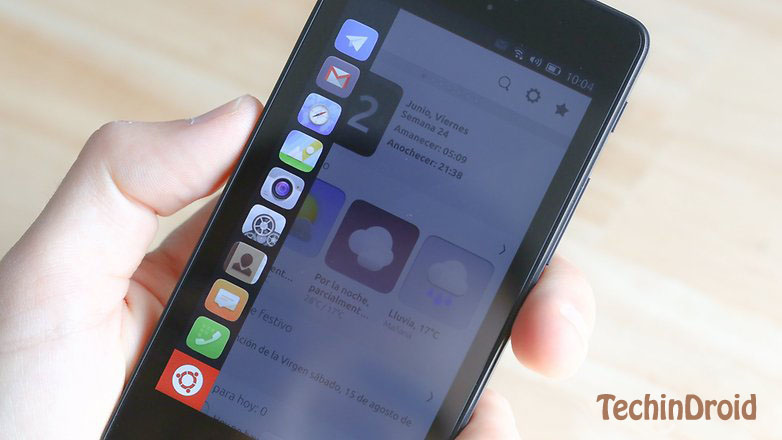
Ubuntu become a system that draws much attention. Behind justify were the statements of Mark Shuttleworth, the founder of Canonical, whose intention was to have an operating system on any screen. Anyway his intentions were good and finally now we can install Ubuntu Touch Android smartphones and tablets.
Also Read:
Contents
Before Get started ubuntu on android tablet
As with any other rom, we can not install Ubuntu Tocuh (Ubuntu in mobile version) on any device. There are devices supported directly by Canonical (Ubuntu distribution company) and other devices supported by the community. install ubuntu on android tablet
Installation of Ubuntu may result in data loss or even damage to the device due to errors in the flashing process, as with any other rom. This process has no guarantee. So proceed at your own risk!.
Supported Devices android mobile tablet
Ubuntu touch supported devices which directly developed by Canonical. In addition to the devices that have it serial, are:
- Nexus 4
- Nexus 7 2013 WiFi
- Nexus 10
As I said before, in the community there are many developers who have wanted to take Ubuntu to more devices. In the list of devices supported by the community we can find devices such as the Nexus 5, Samsung Galaxy S3, Samsung Galaxy S4, HTC One X and many more. install ubuntu touch on nexus 5 4
Warning: This guide is only for devices supported by Canonical. To install Ubuntu on android device supported by the community (not supported by Canonical) you must follow the instructions for the particular device that you will find in a link next to the model of your device within the aforementioned list.

Types of installation
? There are two ways to install Ubuntu:
1. Single boot.
2. Dual boot.
? With a dual boot we can have two operating systems our device at the same time, ie we can have Android and Ubuntu at the same time in our Nexus.
? Single boot means normal start of any device in which have only one operating system installed in the device.
How to Install Ubuntu with Dual boot
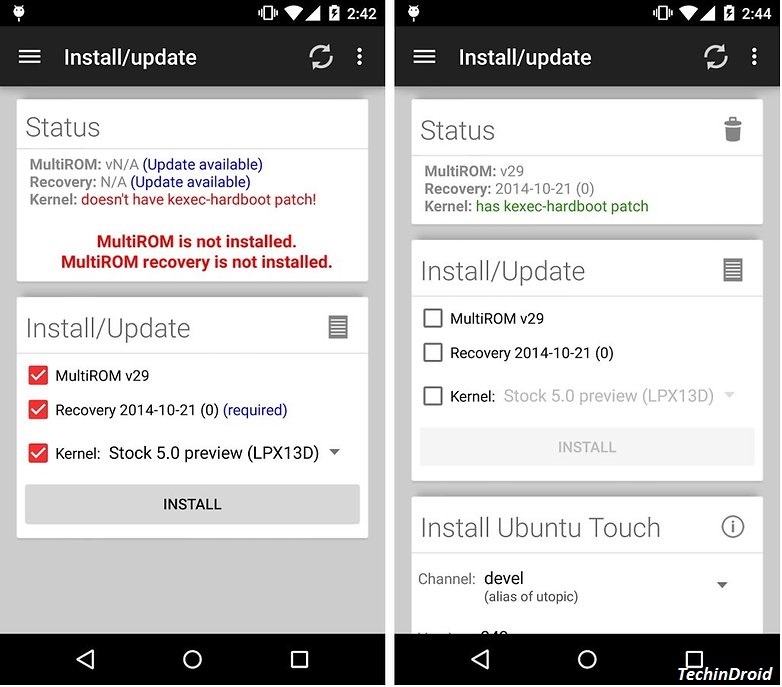
To begin, we need to root the device (Nexus 4 or Nexus 7) and install the MultiROM Manager app from Google Play. With this app we can able to install a boot that allows us to choose which operating system we want to boot from the ones we have installed. They can be two or more. This app only works on some devices. Please read the description of the app carefully on Google Play. install ubuntu on android without root
- Once the application is installed, we start it and grant it root access.
- The application itself will show us in ‘Status’ what we need to install. There are three options: MultiROM, Recovery and Kernel. Press ‘Install’ to install the ones we need.
- After installation we can install Ubuntu Touch as the second operating system directly from the app.

How to Install Ubuntu with single boot
To install Ubuntu on a mobile device we must do it from a computer that has the Unbuntu desktop version installed .
1. Prepare Ubuntu
- Make sure you have the Universe repository enabled.
- Open a terminal.
- Add the PPAs to the Ubuntu SDK: ‘sudo add-apt-repository ppa: ubuntu-sdk-team / ppa‘
- Update the repositories: ‘sudo apt-get update‘
- Install the package to flash devices: ‘sudo apt-get install ubuntu-device-flash‘ (to open the manual of this package use the command: ‘man ubuntu-device-flash‘).
- Install the phablets toolkit ‘sudo apt-get install phablet-tools‘ (for the complete list of tools that includes ‘dpkg -L phablet-tools | grep bin‘).
2. ADB, Fastboot and backup
ADB allow us to communicate between the computer and the device when it has enabled the debugging option in OS. Fastboot allows us to connect to the device when in bootloader mode. We have just installed these tools with the Ubuntu terminal flash package. Now let’s make a backup of the Android system that we have currently installed on our device:
- Enable the USB debugging in Settings> Development options> USB debugging .
- Connect the device to the computer with a USB cable.
- Make sure you are connected device properly to check this enter command: ‘adb devices‘
- Make a backup to a file on the computer: ‘adb backup -apk -shared -all‘.
- Authorizes the copy on the device.
- The backup will be created in the directory where you are as backup.ab.
3. Unlock the bootloader
If you already have the bootloader unlocked you can skip this step.
- From the adb computer (ADB terminal) we execute the command ‘adb reboot bootloader‘.
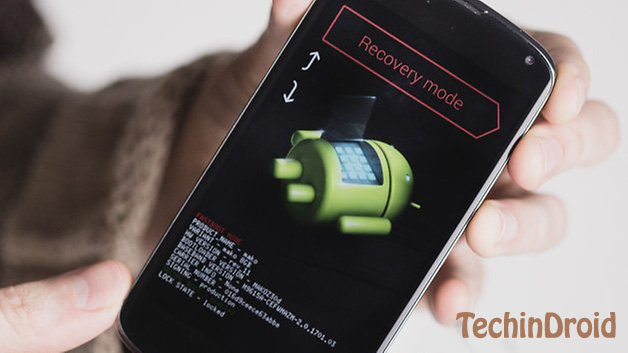
- Now in the Android device will boot into fastboot mode (Appear an image of a lying android) and in the console will list the devices in fastboot mode.
- Now unlock the bootloader with the command: ‘sudo fastboot oem unlock‘.
- Accept the confirmations on the device screen.
- Restart the terminal with ‘fastboot reboot‘, this process will restart the smartphone factory.

Install ubuntu touch on nexus 5
4. Install Ubuntu Touch
- Turn off the device and enter into fastboot mode.
- Reconnect the USB cable if you disconnected it.
- Install Ubuntu from the channel devel ‘ubuntu-device-flash touch –channel = ubuntu-touch / stable / ubuntu –bootstrap‘.
- Wait until it reboots and you’re done, you already have Ubuntu Touch on your device.
I know its a bit tricky stuff to do, I hope this guide will help you to install Ubuntu on Android devices. Have you already tried Ubuntu Touch?


![How to Get iOS 12 Emojis on Any Samsung device [ROOT] iOS 12 Emojis](https://techindroid.com/wp-content/uploads/2019/02/iOS-12-Emojis-218x150.jpg)


Good post. I learn something new and challenging on blogs I stumbleupon everyday.
It will always be exciting to read through articles
from other writers and practice something from other sites.