Last Update: March 2024
How to take a Screenshot on a mac: Wondering how to take a screenshot on a mac keyboard ? there are many options to choose available to perform this task. You can even schedule a screenshot with a timer or crop the screen area you want and to be saved on the desktop. Learn how with this simple tutorial.
You may also like:
You can capture the entire screen or part of it. The screenshots are automatically saved as .png files on the desktop. In this article we are going to explain the process of taking screenshot on mac step by step with pictures.
Contents
How to take Screenshot on Mac
Capture the Entire Screen
Take a screenshot on Mac is very simple, although it is one of the first things they ask those just passing Windows.
We can take screenshot on mac in several different ways. Each one according to a different situation .
The first one will we capture the entire screen in its entirety, as the traditional key ” Print Screen” Windows.
Screenshot on Mac
Step: 1 Press Shift+Cmd (⌘)+ 3 on Mac computer or a macbook keyboard
If you want the screenshot is copied to the clipboard , click also on ” ctrl “.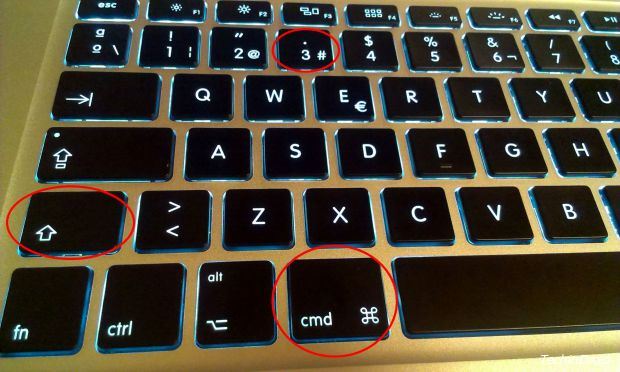
Step: 2 The screenshot will be saved as .png format on your desktop.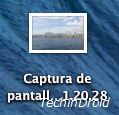
Thats it guys how easy it is? and also we are providing different methods to take screenshot mac.
Cut the part of the screen you want to capture
Another way there to make a screenshot on Mac is cut the area we want to capture.We can select the area of the screen we want to capture. As we can see in the picture above and as in the previous case, a copy is saved on the desktop .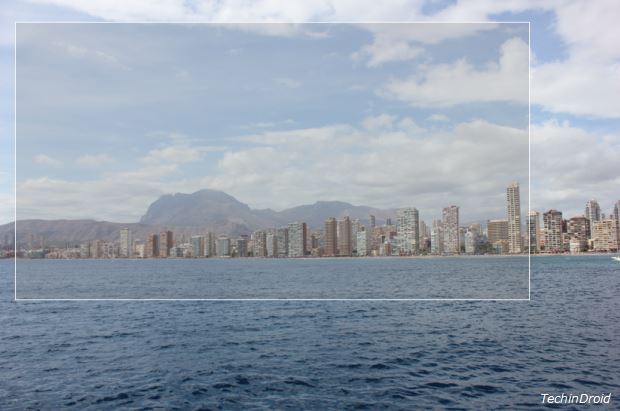
Screenshot on Mac
To do this, press the keys “ Cmd + Shift + 4 ” and ready.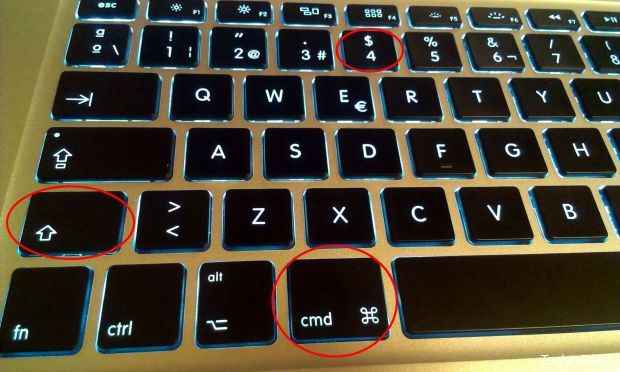
Captures a particular window
Another option is to capture a window of our specific computer .
Step: 1 To do this, we must select the same keys as in the previous case ” Cmd + Shift + 4″ and remember to also press the spacebar .
Step: 2 A camera icon appears to us to select which window we want to capture. In fact, it will change color to a bluish hue .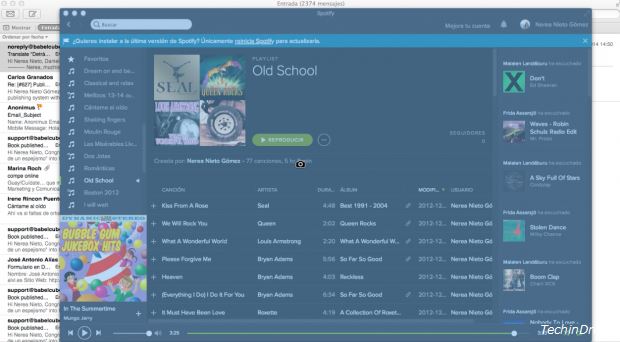
Screenshot of a window
Step: 3 Click on the window you want capture.
Thats it guys your screenshot will be saved on the desktop as in the previous cases.
Make a Screenshot of a Menu
In this method we’ll teach you How to take a screenshot of a Drop down menu or options menu of any applications that installed on your mac.
Step: 1 On your mac open any application and Click the menu to display its contents.
Step: 2 Press “Cmd+Shift+4“. Move the pointer to the menu section.
Step: 3 Click mouse button & Drag on it to select the menu.
Step: 4 Release the mouse button.
That’s it now your screenshot will be saved on the desktop. To cancel, press the Escape key (esc) before you release the button.
Schedule a Screenshot
It is very easy to schedule a screenshot on Mac. This can be useful to capture moments that you know will be difficult otherwise. For example, if you are going to capture screenshot a pop-up that will give a timer to take a screenshot.
Step: 1 To do this, open “Grab app” Its pre-installed app on every Mac OS X devices.
Step: 2 Then click on “Capture>>Click>>Timed screen” and then on “Start Timer“. (or) press keys “Shift+Cmd+Z” now a popup message will ask click “start timer” .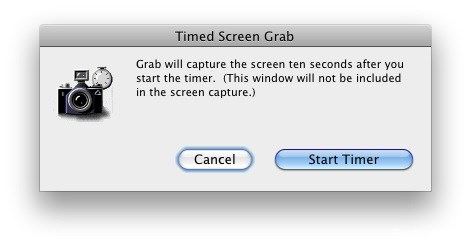 Step: 3 After 10 seconds the screenshot will be done automatically.
Your screenshot will be saved on the desktop.
More Tips
- The screenshots are saved as .png files on the desktop in Mac OS X v10.6 and later. Automatically are called “Screen Shot date at time .png”.
- To save the screenshot to the clipboard instead of as a file on your desktop, use “Cmd+Shift+Ctrl+4″.
- You can open the screenshots with Preview or other image editing apps.
- In some apps, such as DVD Player, it may not be possible to take screenshots of its windows.
This article all about how to take a screenshot on mac OS X, macbook laptop, pc. To read more articles about Mac enter our Mac category. Don’t forget to share this article.


